This is a sketch of the 3D Model I did before making the model.
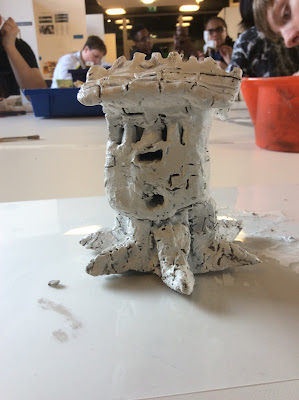
This is the 3D model I made using teracotta clay. I very professional and exclusive clay.
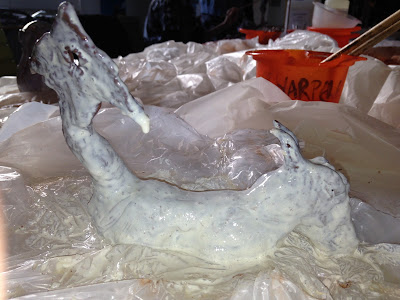
We then covered the model in a layer liquid latex, this is the first layer their are 8 layers in total and we need to wait ten minutes between each one. To apply it we needed to dab it on.
This is the second Layer.
This is the third layer.
This is the Fifth layer
We made another model with air drying clay, I found this clay much easier to use than the terracotta clay. This clay was much easier to mould to get the right shape for your sculpture, I felt that adding detail was less of hassle and overall it was just a clay that felt a lot better to work with in general.
We put a base layer of paint on our sculpture before we paint them.
This is the fully painted 3d model.


The ratio to make the plaster Paris is 2:1 this is powder to water.
Firstly we put the mould on top of the plastic container and poured the plastic paris into the mould.
Next we kept tapping the mould so it would get the air bubbles out of the plastic, we couldn't do it to hard because the plastic would have spilled out.
Finally we left it to dry... obviously.

I didn't to do this however because as you can see my model is completely fucked up. As you can see my model didn't go very well and it was only just beginning to see the world.
R.I.P Model 2016-2016.
The reason we needed to were aprons is because the plastic could potentially ruin your cloths.
You can cast with aluminium, glass and clay. The different materials you can use could be Steel, lego or rubber.


No comments:
Post a Comment